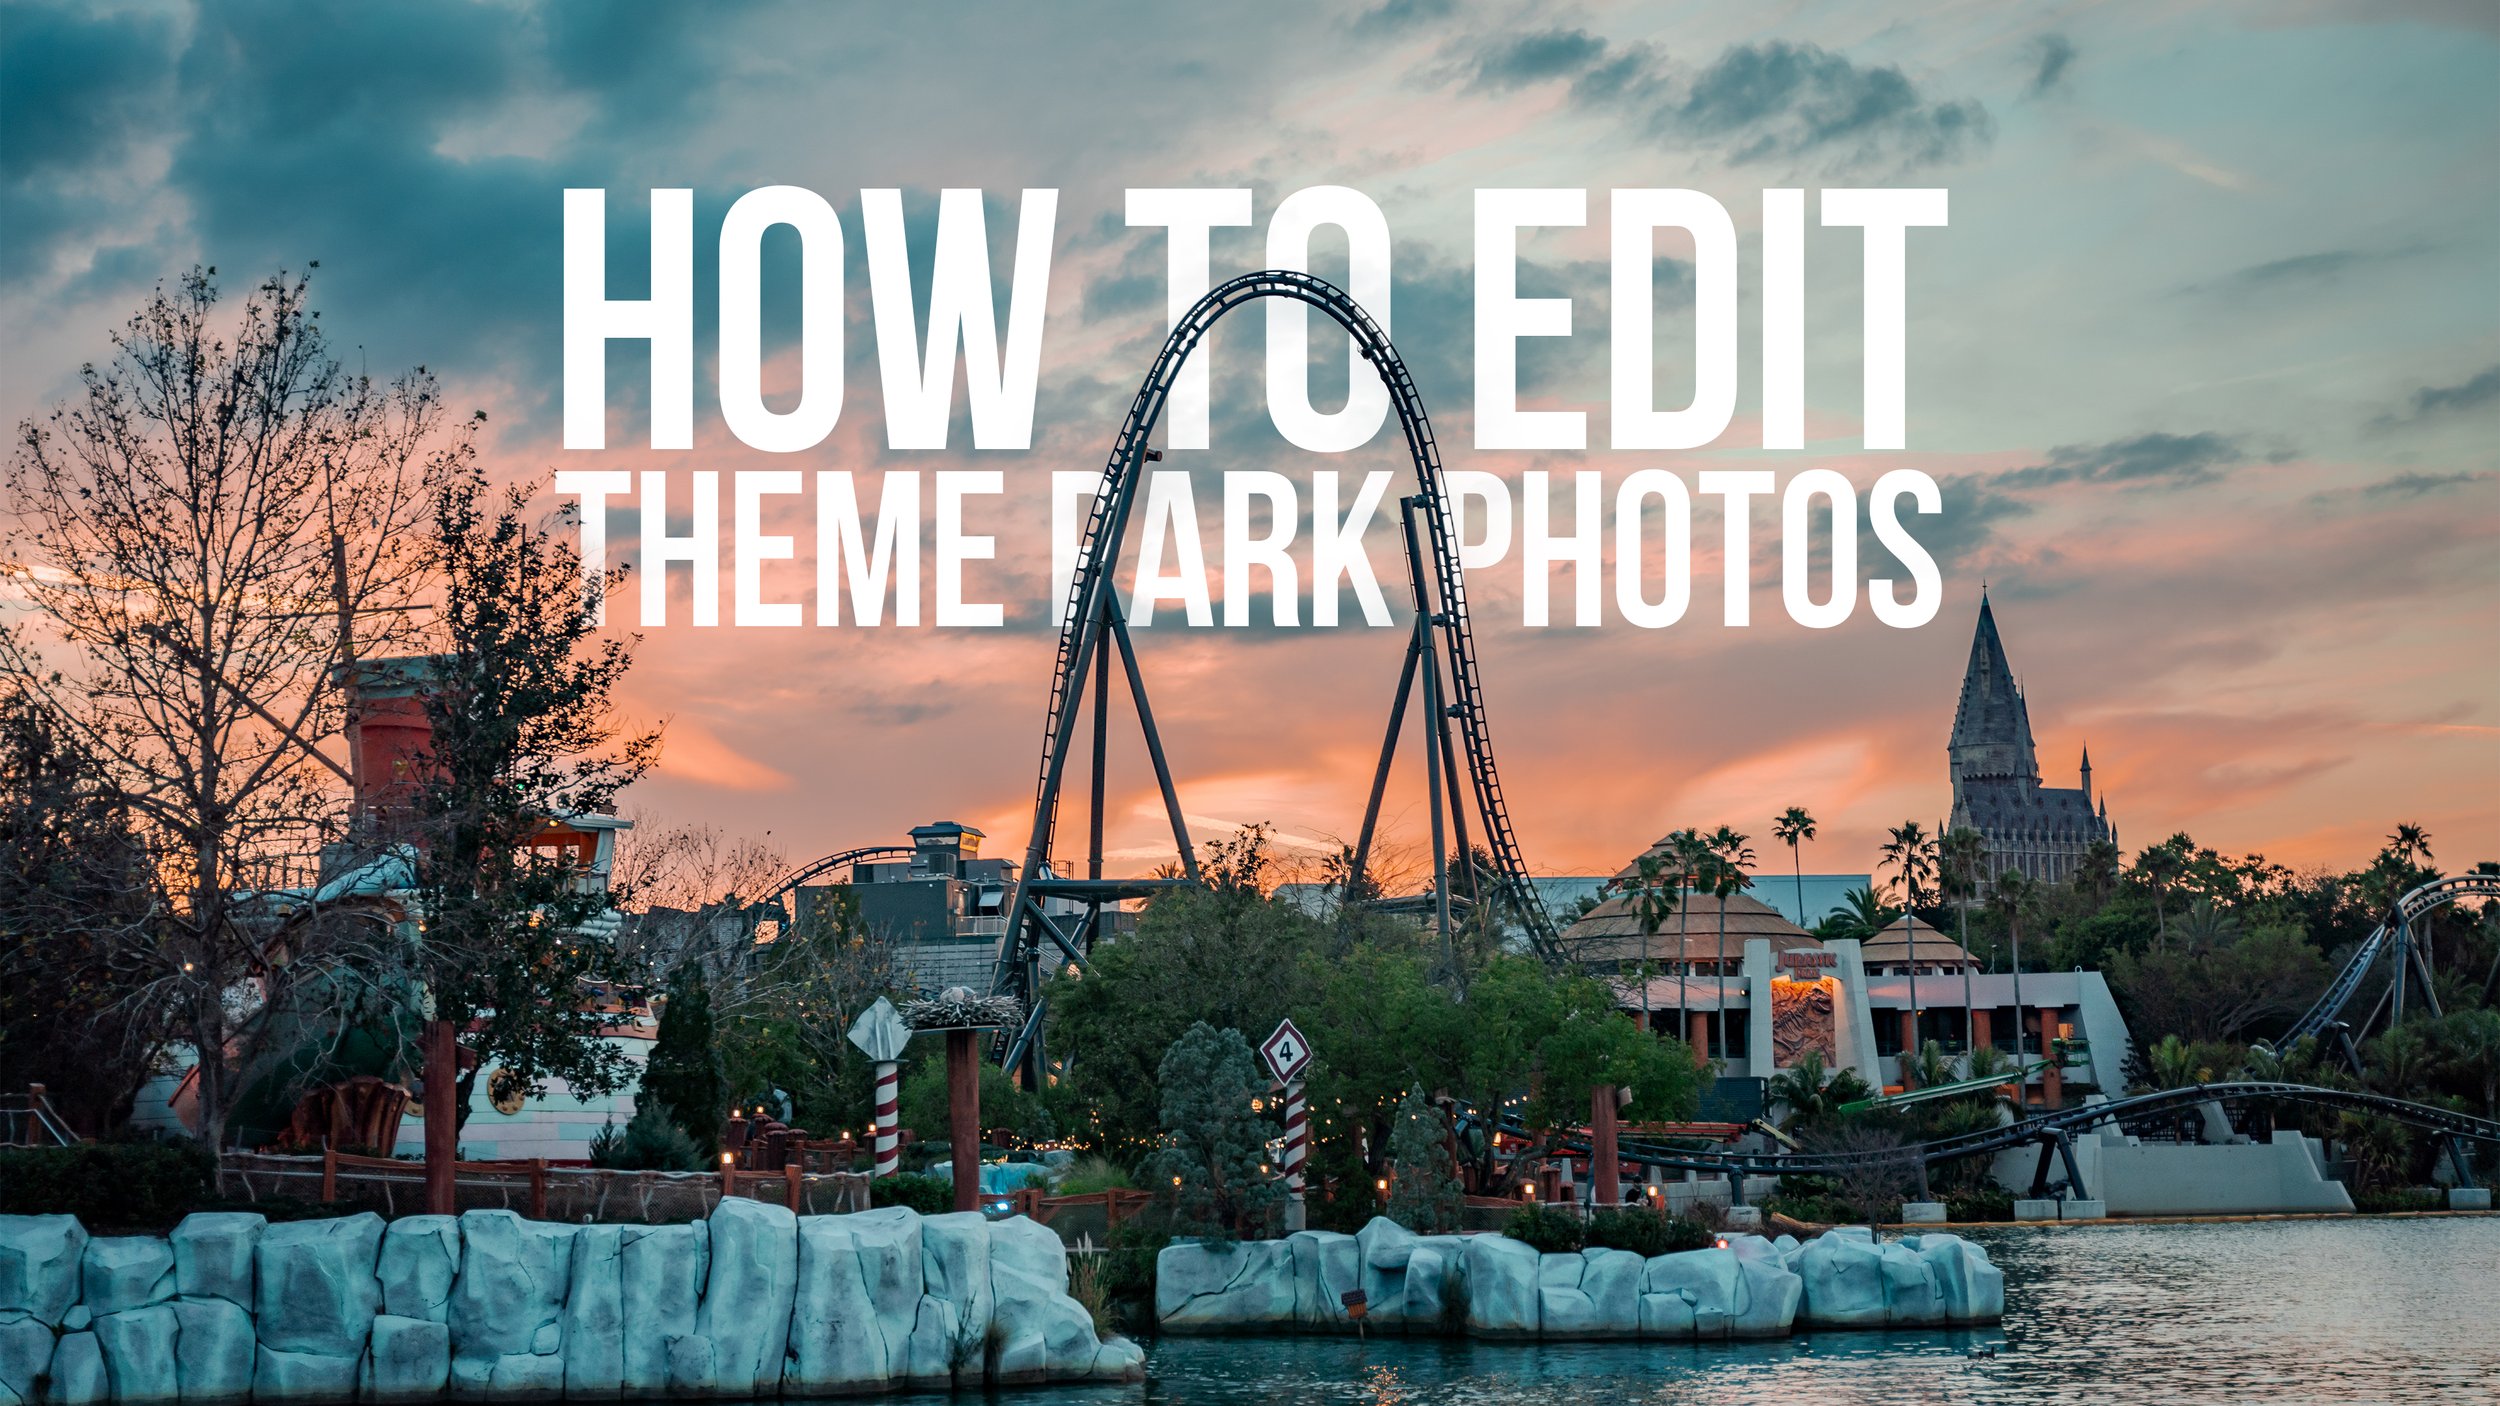
How to Edit Your Theme Park Photos
Editing and Sharing Your Theme Park Captures:
After the previous articles on leveling up your theme park photography, you’ve now mastered the manual features of your camera, you understand composition, unlocked new ways of comprehending sightlines and unique perspectives of your favorite parks. You’ve braved the crowds, embraced golden hours and sunsets, and captured the essence of theme parks in your photos. However, with photography, capturing the photo is only half the battle. Now, it's time to elevate your shots even further through the magic of post-processing! In this section, we'll explore how to select the best shots, enhance colors and details, and share your imaginative images with the world.
Selecting the Best Shots:
After a day of shooting, you've likely amassed a daunting, super collection of photos. Now comes the task of sorting through them to find the true gems. It's like panning for gold – you're sifting through the pebbles to separate the valuable and special from the ordinary. After some days, I often have over 2,000 photos to look through. But don’t let that stress you out!
Take your time during this process. This process is what separates the professionals from the rest. Look for images that capture a moment, evoke an emotion, or tell a story. Pay attention to composition, sharpness, and overall impact. Sometimes, a slight variation in angle or timing can make a huge difference. And don't be afraid to be ruthless. A smaller collection of strong shots will leave a more lasting impression than a massive album of average ones. Read that last part again if you need to.
Pro Tip: When sorting through images, I will mark photos with potential as a ‘4 star’ in Lightroom. After looking through the full batch, I’ll sort by 4 star photos and higher. From there, I’ll further refine mu selection by moving photos down to 3 stars, which removes it from my filter, or promote the photo to 5 stars, which ultimately determines which photos I will fully edit.
Post-Processing Techniques:
Once you've selected your top shots, it's time to work your editing magic. Post-processing is like adding the finishing touches to your masterpiece and pushing your photos to accomplish your final vision. You're enhancing colors, adjusting contrasts, and refining details to make your photos pop. You can do this with a variety of applications. Research what works best with your budget. I personally use Lightroom Classic, Photoshop, and occasionally Luminar Neo, but there’s no wrong choice as long as it helps you achieve the image you had in your head!
Histogram and Basic Adjustments panel in Lightroom Classic
Start by adjusting exposure and contrast. This can help balance out any overly bright or dark areas. This is why shooting RAW was a pro tip earlier in THIS ARTICLE. RAW files store more data and will allow you to adjust the highs and lows more. If you miss the perfect exposure on the day of shooting, it's a lot easier to save the photo if it’s shot in RAW. If your editing program has histograms, use them! Histograms show your exposure on a graph. This is super helpful for knowing when your colors and exposure sits. While high contrast photos are appealing, it's easy to overdo it and push the highlights and shadows too far and end up losing detail in your photo. Using a histogram helps avoid any issues and it helps get your exposure to the perfect levels that you’re looking for.
Once your contrast is balanced, move on to color correction – play with saturation and vibrancy to bring out the deep hues of the theme park image. But remember, subtlety is key. A little enhancement goes a long way. Make subtle global adjustments and learn to break down images into sections by using masks. Using masks for specific areas can add a specific artistic touch and bring out unique details that could otherwise be hidden with basic global adjustments. You can also further refine colors and tones with the HSL tab which breaks down an image into its individual hues, saturations, and luminance. Become as familiar as possible with this section of your editing software. The HSL tab will unlock so many possibilities in your edits.
Sharing Your Photography:
With your photos polished, refined, and crafted to your liking, it's time to share your visual adventures with the world! Although social media platforms are your canvas for showcasing your theme park captures to the world, don’t forget to personally enjoy your art! The art of photography is more than being able to impress faceless people online — it’s about celebrating and capturing the things you love in life.
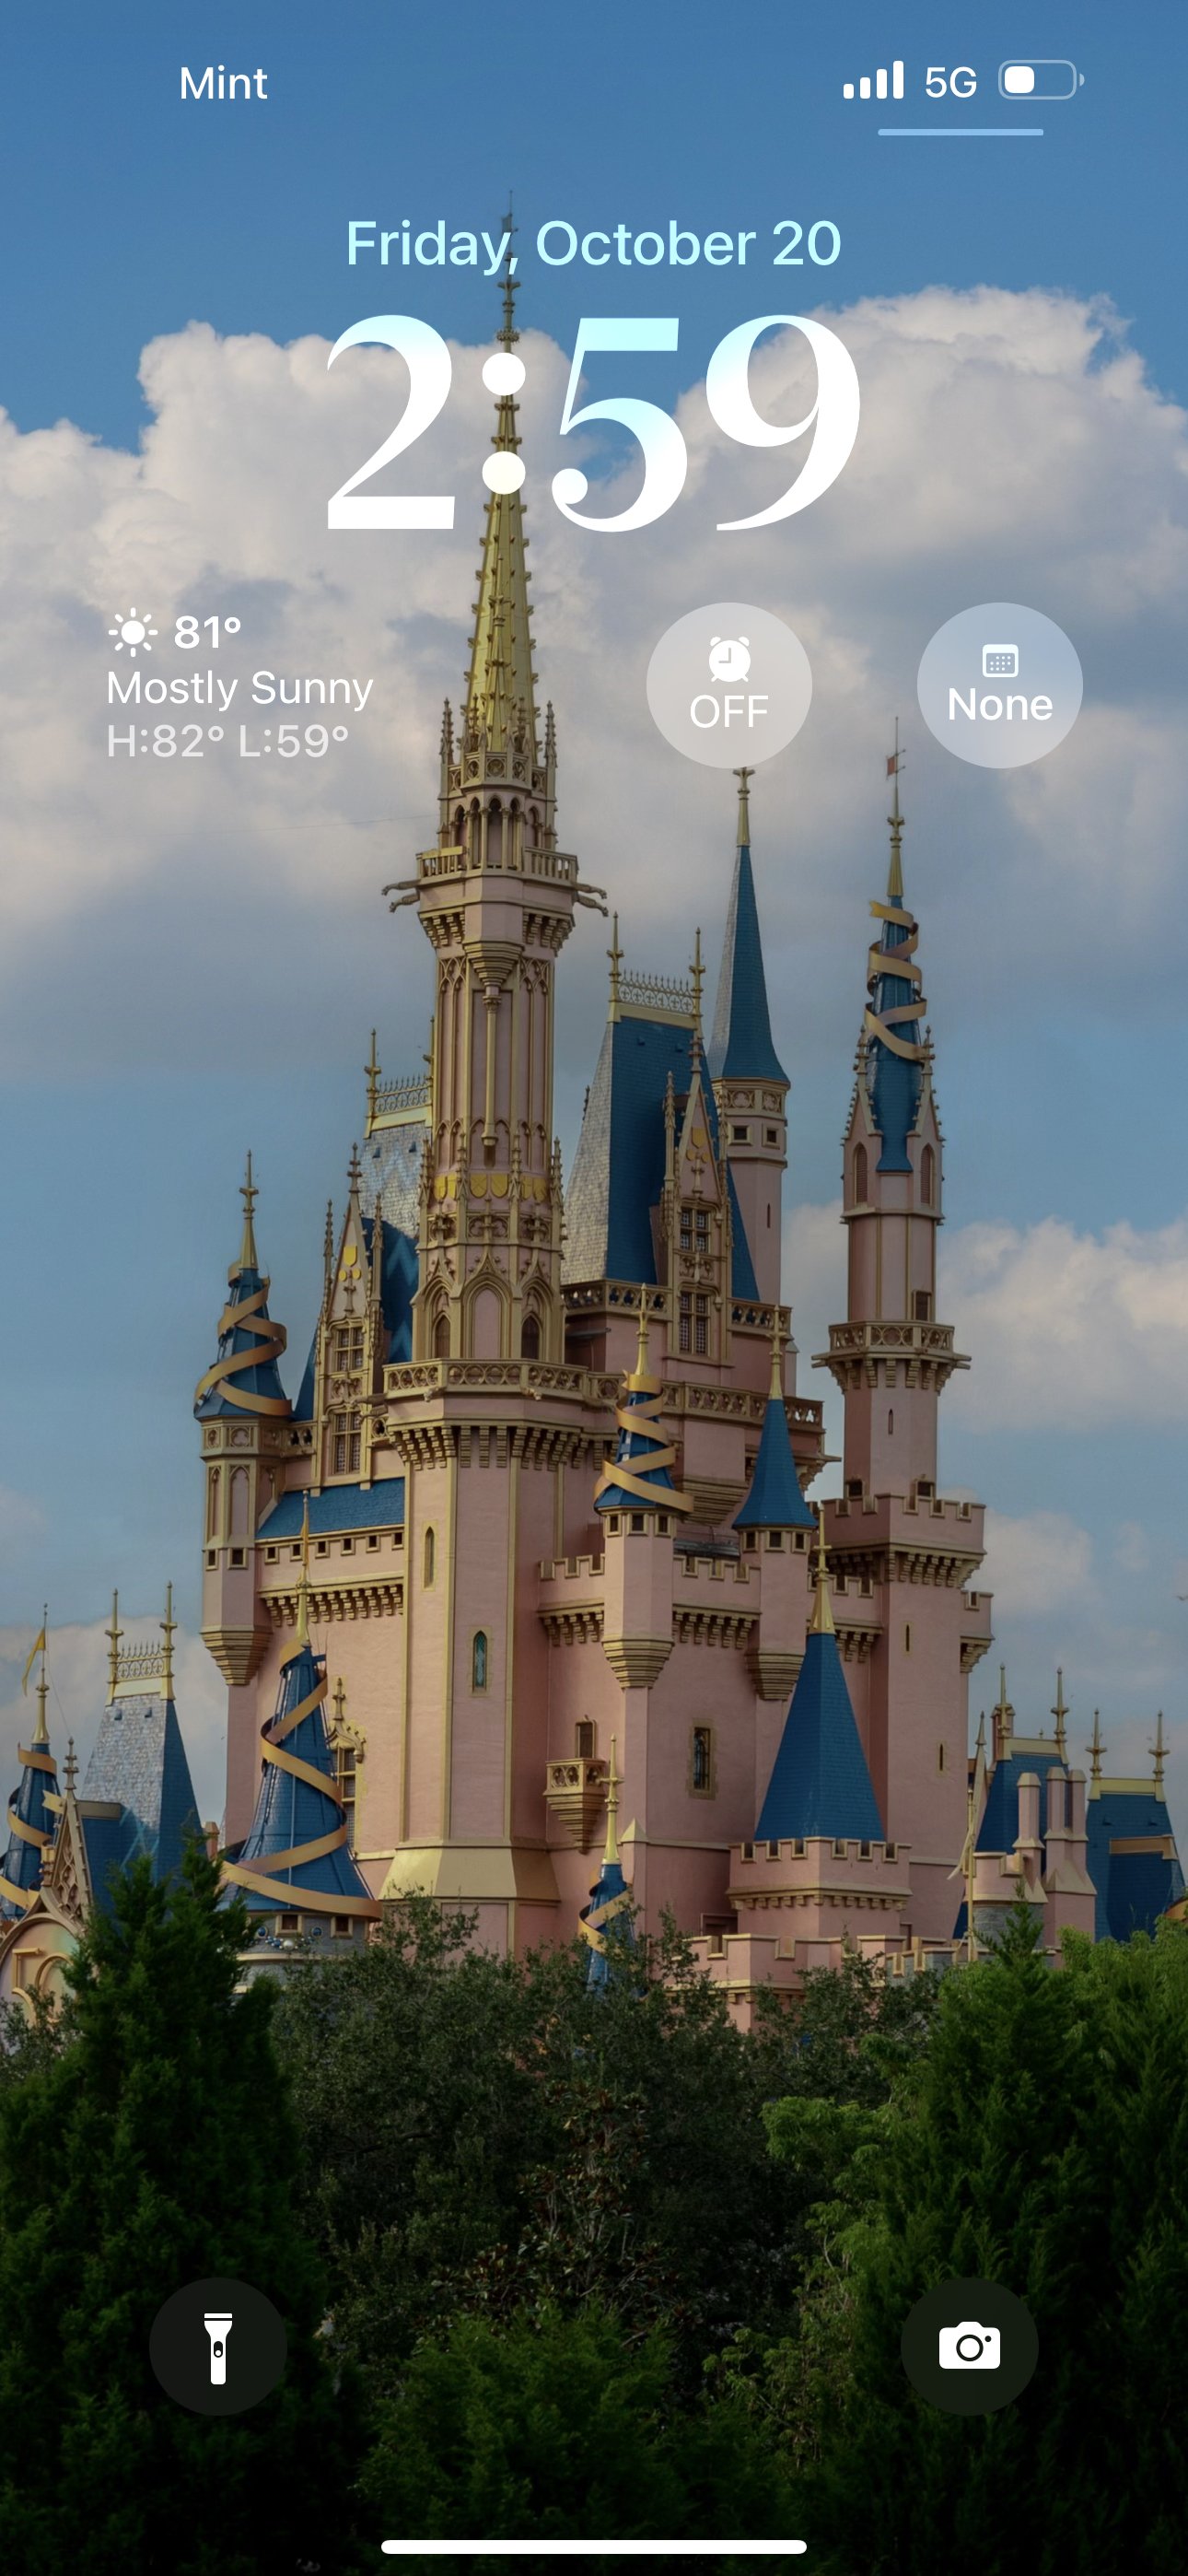
Photography should be a joy, so personally enjoying your work is incredibly important. Yes, post it on social media, but also find ways to enjoy it yourself. For me personally, my top favorite photos are saved as my phone background, so I get reminded of the stories associated with those pictures daily. Do something similar with your own work!
But don't just stop at creating your art – actually engage with the photography community! Join theme park photography groups, participate in challenges, and connect with fellow enthusiasts. Share your insights, learn from others, and keep evolving as a photographer.
And most of all, don't be shy about printing your favorites and turning them into physical keepsakes! There’s something special about being able to physically hold your work and see it in front of you. Bringing your theme park memories to life beyond the digital realm is a great way to celebrate the places we love while also learning and becoming a better photographer from it.
If you missed a previous installment in this series of articles exploring how to take better theme park photos, read the full article that covers each topic here!


